

-
Welcome to Tundras.com!
You are currently viewing as a guest! To get full-access, you need to register for a FREE account.
As a registered member, you’ll be able to:- Participate in all Tundra discussion topics
- Transfer over your build thread from a different forum to this one
- Communicate privately with other Tundra owners from around the world
- Post your own photos in our Members Gallery
- Access all special features of the site
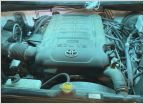 2016 Tundra CM Spark Plug Replacement - 5.7L V8
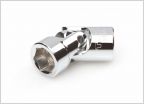 TRD Supercharger on Flex Fuel 3UR-FBE
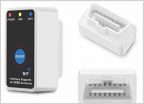 Code reader for 2015 Tundra
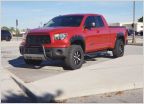 What leveling/lift kit do you recommend for 2019 tundra
 Torque Pro on Android Auto
Sniv Speed Shop - Custom Parts and Design
Discussion in 'Performance and Tuning' started by snivilous, Oct 23, 2022.
Page 11 of 15
Page 11 of 15


