

-
Welcome to Tundras.com!
You are currently viewing as a guest! To get full-access, you need to register for a FREE account.
As a registered member, you’ll be able to:- Participate in all Tundra discussion topics
- Transfer over your build thread from a different forum to this one
- Communicate privately with other Tundra owners from around the world
- Post your own photos in our Members Gallery
- Access all special features of the site
 Idler Pulley/Tensioner Noise
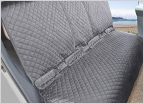 Carhartt Coverall Bench Seat Protector
 2020 Platinum Sway Bars and Intake
 Ideas for Useless Space?
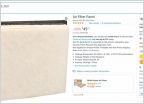 Best air filter
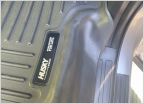 New Husky rear liner... does this look right?
Leer Cap Wiring - SNO BUS Style
Discussion in '2.5 Gen Tundras (2014-2021)' started by SNO BUS, Mar 30, 2020.
