

-
Welcome to Tundras.com!
You are currently viewing as a guest! To get full-access, you need to register for a FREE account.
As a registered member, you’ll be able to:- Participate in all Tundra discussion topics
- Transfer over your build thread from a different forum to this one
- Communicate privately with other Tundra owners from around the world
- Post your own photos in our Members Gallery
- Access all special features of the site
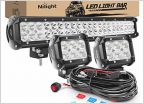 Wiring from Hood Mounted Lights into Cab?
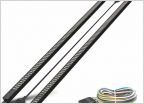 OPT7 or Putco Blade tailgate light bar?
 “Felt” Wheel Well liner research-2016
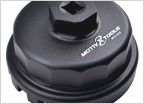 Plunging for Skid: What filter wrench?
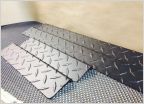 Door Sill Protectors
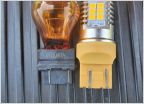 LED turn signal fitment issue / which LED's do you guys use?
ARB Summit - the install journey
Discussion in '2.5 Gen Tundras (2014-2021)' started by Jhon, Dec 26, 2024.

