

-
Welcome to Tundras.com!
You are currently viewing as a guest! To get full-access, you need to register for a FREE account.
As a registered member, you’ll be able to:- Participate in all Tundra discussion topics
- Transfer over your build thread from a different forum to this one
- Communicate privately with other Tundra owners from around the world
- Post your own photos in our Members Gallery
- Access all special features of the site
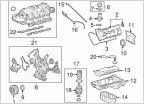 Oil filter housing cap? (not the usual questions)
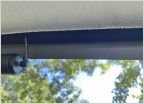 Rear headliner finish
 LED to "Halogen" Headlights
 Rear Diff
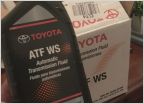 ATF ws fluid id help
 Installed beat sonic front camera and harness
Ironman 4x4 bumper installed
Discussion in '2.5 Gen Tundras (2014-2021)' started by king.cong.1119, Apr 27, 2022.


