

-
Welcome to Tundras.com!
You are currently viewing as a guest! To get full-access, you need to register for a FREE account.
As a registered member, you’ll be able to:- Participate in all Tundra discussion topics
- Transfer over your build thread from a different forum to this one
- Communicate privately with other Tundra owners from around the world
- Post your own photos in our Members Gallery
- Access all special features of the site
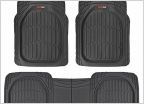 Floor mats
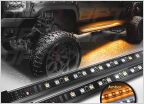 Side kick running lights
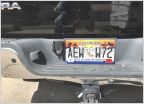 Trailer Harness Relocated
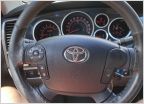 Steering wheel rehab
 Has anyone seen this back up monitor in an 07-08 with a sunroof?
 Tow Mirrors
Secondary Air Injection Valve Replacement write up. Check Engine Light with P2441 code
Discussion in '2nd Gen Tundras (2007-2013)' started by Landodnal, Jun 5, 2022.


