

-
Welcome to Tundras.com!
You are currently viewing as a guest! To get full-access, you need to register for a FREE account.
As a registered member, you’ll be able to:- Participate in all Tundra discussion topics
- Transfer over your build thread from a different forum to this one
- Communicate privately with other Tundra owners from around the world
- Post your own photos in our Members Gallery
- Access all special features of the site
 Liftgate won’t lock
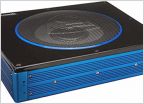 Cutting to the Chase: No place for basic subwoofer in 2006 Gen 1 Crewmax without mod?
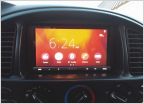 GEN 1 apple carplay headunit
 Popped Wheel Cylinder--Bleed Question
 What are these called, and does anyone know the part# for the clips for them?
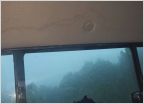 3rd Brake Light Leak
What have you done to your 1st gen Tundra today?
Discussion in '1st Gen Tundras (2000-2006)' started by T-Rex266, Sep 7, 2015.
Page 2340 of 2340
Page 2340 of 2340
Products Discussed in


